Small Appliance Cleaning Made Simple

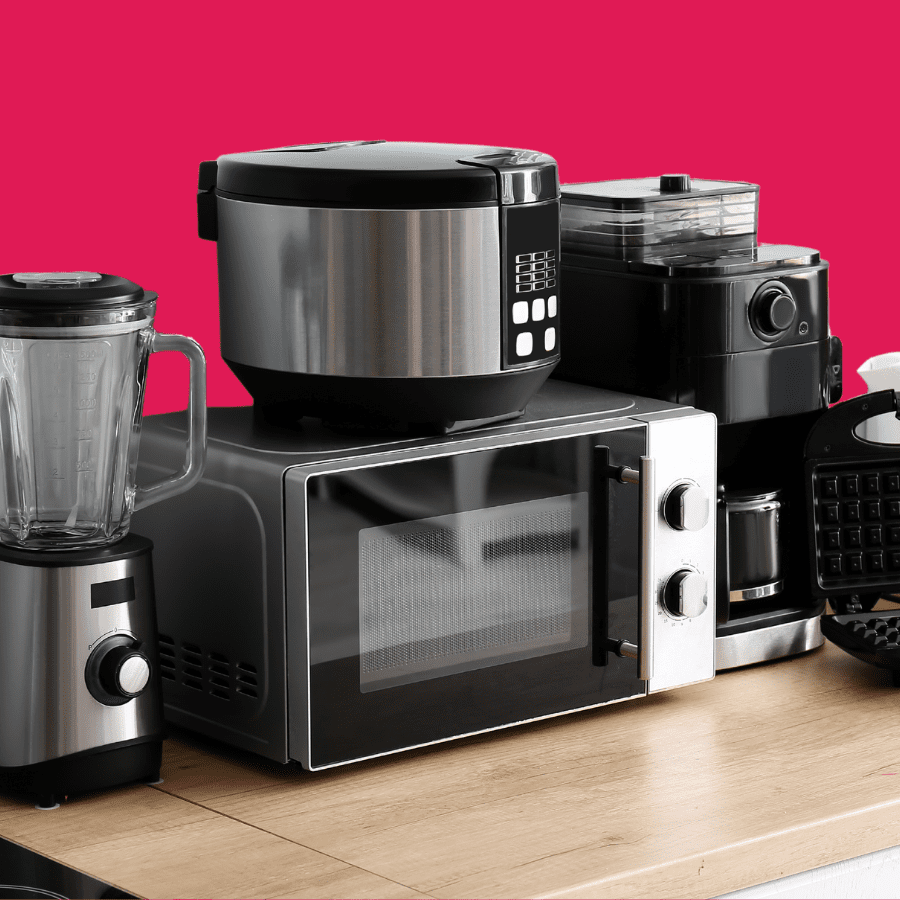
Small kitchen appliances like toaster ovens, coffee makers, blenders, and microwaves have become an integral part of our daily lives. They save us time and energy in the kitchen, making our lives easier. However, many of us overlook the importance of regularly cleaning and maintaining these small appliances. Not only can neglecting their cleaning lead to a buildup of bacteria and mold, but it can also affect their performance and lifespan. It’s important to pay special attention to the plastic parts of these appliances and clean them with a warm detergent solution to ensure their longevity and proper functioning.
Cleaning small kitchen appliances doesn’t have to be a daunting task. With a few essential tips and techniques, you can keep your appliances clean and in good working condition. In this blog, we will explore the best practices for cleaning some of the most commonly used small kitchen appliances. From coffee makers like drip coffee maker and instant pots to toaster ovens and microwaves, we will cover everything you need to know to ensure that your appliances are sparkling clean and bacteria-free.
So, let’s dive in and discover how to make small appliance cleaning simple and hassle-free!
Essential Tips for Cleaning Small Kitchen Appliances
Cleaning small kitchen appliances doesn’t have to be a complicated task. By following a few essential tips, you can easily clean and maintain your appliances. Here are some key tips to keep in mind:
- Regularly clean removable parts: Many small appliances have removable parts that can be easily cleaned. Take the time to wash these parts separately using warm soapy water or by placing them in the dishwasher (if recommended by the manufacturer).
- Pay attention to the exterior: Don’t just focus on the interior of your appliances. Wipe down the exterior surfaces with a damp cloth to remove any dirt or grime.
- Follow manufacturer instructions: Each appliance may have specific cleaning instructions provided by the manufacturer. Make sure to read and follow these instructions for the best cleaning results.
- Use natural ingredients: Natural ingredients like vinegar and lemon juice can be effective in removing stains and odors from your appliances. Incorporate these ingredients into your cleaning routine for a more natural and eco-friendly approach.
- Practice safety measures: Before cleaning any appliance, always unplug it to ensure safety. Avoid using abrasive cleaners or sharp tools that could damage the appliance.
The Basics of Small Appliance Maintenance
Regular maintenance is key to prolonging the life of your small kitchen appliances. By taking a few simple steps, you can keep your appliances functioning properly for years to come.
First and foremost, make sure to read the manufacturer’s instructions for each appliance and follow their recommended maintenance schedule. This may include cleaning specific parts, replacing filters, or lubricating moving parts.
Additionally, it’s important to be mindful of how you use and store your appliances. Avoid overloading them or using them for purposes they are not designed for, as this can cause damage. Properly store your appliances in a dry and clean environment, and avoid exposing them to extreme temperatures or moisture.
Regularly inspect your appliances for any signs of wear or damage. If you notice any issues, such as frayed cords or loose parts, it’s important to address them promptly to prevent further damage or safety hazards.
By incorporating regular maintenance into your routine, you can ensure that your small kitchen appliances continue to perform at their best and have a longer lifespan.

How to Clean a Microwave Efficiently
The microwave is one of the most frequently used small kitchen appliances, and it can quickly accumulate food splatters and odors. Cleaning your microwave doesn’t have to be a chore. Here’s how to clean it efficiently:
- Fill a microwave-safe container with at least one cup of water.
- Heat the water until it reaches a rolling boil and then turn off the microwave.
- Keep the microwave door closed for at least 15 minutes to allow the steam to loosen the food particles.
- After 15 minutes, open the door and carefully wipe down the interior surfaces with a damp cloth or sponge.
- For stubborn food splatters, create a mixture of equal parts vinegar and water.
- Dip a sponge or cloth into the mixture and use it to wipe away the splatters.
- Finally, wipe down the exterior surfaces of the microwave with a damp cloth.
By following these steps, you can easily remove food splatters and odors from your microwave, ensuring that it stays clean and fresh.
Deodorizing Appliances with Natural Ingredients
If your microwave has developed unpleasant odors, there’s no need to panic. You can easily deodorize it using natural ingredients. Here’s how:
- Fill a microwave-safe bowl with one cup of water.
- Add one tablespoon of white vinegar to the water.
- Place the bowl in the microwave and heat it on high power for five minutes.
- After the five minutes, leave the bowl in the microwave for an additional five minutes to allow the steam to circulate and deodorize the interior.
- Carefully remove the bowl from the microwave.
- Wipe down the interior surfaces with a damp cloth to remove any residue or lingering odors.
- For stubborn odors, repeat the process with fresh water and vinegar.
- Finally, leave the microwave door open for a few minutes to allow any remaining odors to dissipate.
Mastering the Art of Toaster Oven Cleaning
Toaster ovens are versatile appliances that can quickly become dirty and cluttered with crumbs. Mastering the art of cleaning your toaster oven will ensure it stays in top condition. Here’s what you need to know:

- Start by unplugging the toaster oven and allowing it to cool completely.
- Remove the crumb tray, which is usually located at the bottom of the toaster oven. Empty the crumbs into the sink or trash can.
- Wash the crumb tray with warm soapy water or place it in the top rack of the dishwasher if it is dishwasher-safe.
- Wipe down the interior surfaces of the toaster oven with a damp cloth or sponge.
- For any stubborn grease or residue on the nonstick surface, use a non-abrasive cleaner and a soft cloth to gently scrub away the buildup.
- Rinse the cloth or sponge and wipe down the interior surfaces again to remove any cleaning residue.
- Finally, dry the interior surfaces with a clean cloth or paper towel before reassembling the toaster oven.
Tackling Grease, Grime, and Residue on Heating Elements
Over time, grease and residue can accumulate on the heating elements of your toaster oven, affecting its performance and creating a potential fire hazard. Here’s how to tackle grease and residue on the heating elements:
- Start by unplugging the toaster oven and allowing it to cool down completely.
- Gently scrub the heating elements with a soft cloth or sponge dampened with warm soapy water.
- For stubborn grease or residue, use a non-abrasive cleaner specifically formulated for toaster ovens.
- Apply the cleaner to a soft cloth or sponge and gently scrub the heating elements, taking care not to damage them.
- Rinse the cloth or sponge and wipe down the heating elements again to remove any cleaning residue.
- Finally, dry the heating elements thoroughly before plugging in the toaster oven.
It’s important to regularly clean the heating elements of your toaster oven to prevent grease buildup and ensure optimal performance.
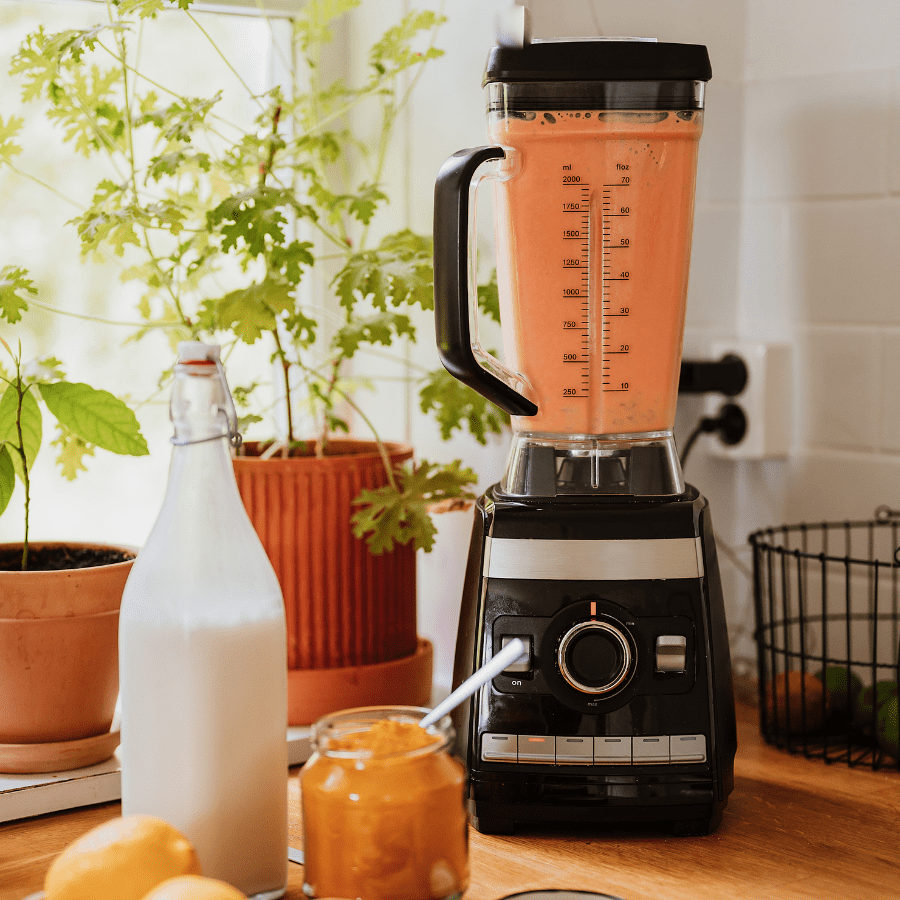
Blender Cleaning Made Easy
Cleaning a blender doesn’t have to be a time-consuming task. With a few simple steps, you can keep your blender clean and ready for use. Here’s how to clean your blender efficiently:
- After each use, rinse the blender pitcher with plain water to remove any leftover residue.
- Fill the blender pitcher halfway with warm water and add a drop or two of dish soap.
- Place the blender pitcher on the base and blend on low speed for 15 to 30 seconds.
- Pour out the soapy water and rinse the blender pitcher thoroughly with plain water.
- For stubborn residue, use a dish brush to scrub the blender pitcher.
- If the blender is dishwasher-safe, place the pitcher and any removable parts in the top rack of the dishwasher for a thorough cleaning.
- Wipe down the blender base with a damp soapy cloth to remove any spills or residue.
- Dry all the parts completely before reassembling the blender.
Disassembling and Washing Blender Blades Safely
The blades of a blender can become caked with residue and food particles, affecting their performance and cleanliness. Here’s how to safely disassemble and wash blender blades:
- Before disassembling the blades, make sure the blender is unplugged and the blades have come to a complete stop.
- Carefully remove the blender pitcher from the base.
- Disassemble the blender blades according to the manufacturer’s instructions.
- Wash the blades separately in warm soapy water.
- Use a dish brush to remove any stubborn residue or food particles.
- Rinse the blades thoroughly with plain water to remove any soap residue.
- Dry the blades completely before reassembling them.
- Once the blades are dry, reassemble them according to the manufacturer’s instructions and place them back into the blender pitcher.
Quick Clean-up After Every Use
To prevent the buildup of residue and make cleaning your blender easier, it’s important to perform a quick clean-up after every use. Here’s how:

- After using the blender, immediately rinse the blender pitcher with warm water to remove any leftover residue.
- Fill the pitcher halfway with warm water and add a drop of dish soap.
- Place the pitcher back on the blender base and run the blender on low speed for 15 to 30 seconds.
- Pour out the soapy water and rinse the pitcher thoroughly with plain water.
- If there are any stubborn residue or food particles, use a dish brush to scrub the pitcher.
- Dry the pitcher completely before storing it.
By performing a quick clean-up after each use, you can prevent residue from drying and sticking to the blender pitcher, making the overall cleaning process much easier.
The Ultimate Guide to Cleaning your Air Fryer
Air fryers have gained popularity in recent years for their ability to cook crispy and delicious food with less oil. To keep your air fryer performing at its best, regular maintenance is crucial. Here’s the ultimate guide to air fryer maintenance:
- Allow the air fryer to cool completely before cleaning.
- Remove the basket and any other removable parts from the air fryer.
- Wash the removable parts in warm soapy water or place them in the dishwasher if they are dishwasher-safe.
- Wipe down the interior and exterior surfaces of the air fryer with a damp cloth or sponge.
- For stubborn residue or grease, use a non-abrasive cleaner and a soft cloth to gently scrub the nonstick surfaces.
- Rinse the cloth or sponge and wipe down the air fryer again to remove any cleaning residue.
- Dry all the parts completely before reassembling the air fryer.

Cleaning the Basket and Pan Without Damage
Cleaning small kitchen appliances with nonstick surfaces, such as air fryers, requires gentle care to avoid damaging the coating. When cleaning the basket and pan of an air fryer, it is important to use a soft cloth or sponge and warm soapy water. Avoid using abrasive cleaners or scrub brushes that can scratch the nonstick surface. Gently wipe down the basket and pan, making sure to remove any food residue or grease. Rinse with warm water and dry thoroughly before reassembling the air fryer. Regular cleaning of the basket and pan will prevent buildup and ensure optimal performance of the air fryer.
Cleaning for a Smoke-Free Cooking Experience
To ensure a smoke-free cooking experience with your air fryer, regular maintenance is a cinch with these simple steps. Clean the air fryer after each use by removing the basket and tray and washing them with warm soapy water. Use a soft cloth or sponge to wipe down the interior and exterior of the air fryer, removing any grease or food residue. Check the heating element for any debris or buildup and gently wipe it clean. It is also important to check the air vents for any blockages and clean them with a soft brush or cloth. Regular maintenance will prevent smoke and odors from building up in the air fryer and ensure that your food cooks evenly and without any unpleasant smells.
When to Seek Professional Appliance Repairs
While regular maintenance and cleaning can help prolong the life of your small appliances, there may come a time when professional repairs are necessary. If you notice any unusual noises, smells, or performance issues with your appliances, it is best to have them inspected by a professional. Attempting to repair appliances yourself can lead to further damage or void any warranties. Professional technicians have the knowledge and tools to diagnose and repair issues safely and effectively. It is also important to have your appliances regularly serviced by a professional to catch any potential problems early on. Investing in professional repairs and maintenance can save you time, money, and the frustration of dealing with malfunctioning appliances.

Conclusion
In conclusion, maintaining clean small kitchen appliances not only prolongs their lifespan but also ensures your safety and the quality of your food. By incorporating simple cleaning routines using natural ingredients, you can keep your appliances in top condition. With newly clean appliances, a fun kitchen atmosphere, and easy cooking are ready to be explored. Remember, regular maintenance and safe cleaning practices are key to enjoying efficient and long-lasting performance from your small appliances. Take the time to clean and care for your kitchen tools, and they will continue to serve you well for years to come.
Frequently Asked Questions
What’s the best cleaner for electronic screens on appliances?
When cleaning electronic screens on appliances, it is best to use a microfiber cloth and a gentle, light duty cleaner specifically designed for electronics. Avoid using abrasive cleaners or harsh chemicals that can damage the screen or leave streaks. Gently wipe the screen with the microfiber cloth and cleaner, taking care not to apply too much pressure. This will effectively remove smudges and fingerprints without causing any damage.
How often should I deep clean my kitchen appliances?
The frequency of deep cleaning your kitchen appliances depends on how often you use them and the specific appliance. As a general rule, it is recommended to deep clean your appliances at least once every few months or as needed. This includes cleaning removable parts, thoroughly wiping down surfaces, and removing any built-up grime or residue. Regular maintenance and cleaning will help keep your appliances in optimal condition and prevent any issues from arising.
Can vinegar be used to clean all types of small appliances?
Vinegar can be used to clean many types of small appliances due to its natural cleaning properties. However, it is important to use vinegar safely and avoid using it on certain materials such as aluminum or stone surfaces, as it can cause damage. Always check the manufacturer’s instructions to ensure vinegar is safe to use on your specific appliance. If in doubt, consult a professional or use alternative cleaning methods.
Tips for removing tough stains from appliance exteriors
To remove tough stains from appliance exteriors, create a solution of warm soapy water using dish soap. Dampen a cloth or sponge with the solution and gently scrub the stained area. For stubborn stains, you can also use a soft brush or toothbrush. Rinse the area with clean water and dry with a soft cloth. This method is effective for removing grease, food residue, and other tough stains from appliance exteriors.
Are there any cleaning solutions I should avoid using on my appliances?
Yes, there are cleaning solutions you should avoid using on your appliances, especially those with delicate or sensitive surfaces. Avoid using abrasive cleaners, bleach, ammonia, or harsh chemicals that can cause damage or discoloration. Stick to gentle, non-abrasive cleaners and follow the manufacturer’s instructions for safe and effective cleaning.
How do I maintain the efficiency of my appliances through regular cleaning?
Regular cleaning is key to maintaining the efficiency of your appliances. By removing built-up grime, dust, and residue, you can ensure optimal performance and prevent any issues that may impede efficiency. Clean removable parts regularly, wipe down surfaces, and follow the manufacturer’s instructions for any recommended maintenance tasks. This will help your appliances operate at their best and prolong their lifespan.