Stain Cleaning Made Simple: A Beginner’s Handbook

Stains can be frustrating to deal with, whether they’re on your clothing, carpets, or other household items. However, with the right knowledge and techniques, stain removal can be made simple and hassle-free. This beginner’s handbook will guide you through the process of effectively removing different types of stains and provide you with tips to prevent stains before they even happen.
By understanding the basics of stain removal and having the necessary cleaning supplies, you’ll be well-equipped to tackle even the toughest stains. Whether you’re dealing with grease stains, ink stains, or coffee stains, this handbook will provide you with the knowledge and techniques to successfully remove them.
From identifying the type of stain to choosing the right cleaning solution, this guide will take you step-by-step through the stain removal process. You’ll also learn how to remove stains from various surfaces, such as carpets, wood floors, and delicate fabrics. Additionally, we’ll provide you with tips on preventing stains and maintaining a stain-free environment.
So, let’s dive in and discover how stain cleaning can be made simple and easy for beginners. Say goodbye to stubborn stains and hello to a cleaner, stain-free home!
Understanding Stains: Types of Stains
When it comes to stain removal, it’s important to be familiar with the types of stains you might encounter. Different stains require different cleaning approaches. Here are some common types of stains you might come across:
- Red wine stains: Whether it’s a spill on your favorite shirt or a mishap on the carpet, red wine stains can be tough to remove. Using salt to absorb the wine and a paste made from baking soda and water can help lift the stain.
- Coffee stains: These stains can leave brown marks on clothing and carpets. Blotting up the excess liquid and treating the stain with a solution of water, liquid dish soap, and white vinegar can effectively remove coffee stains.
- Grass stains: If you enjoy outdoor activities, you’re no stranger to grass stains on clothing. Pre-treating the area with a mixture of laundry detergent and water, followed by gentle brushing and rinsing, can help remove grass stains.
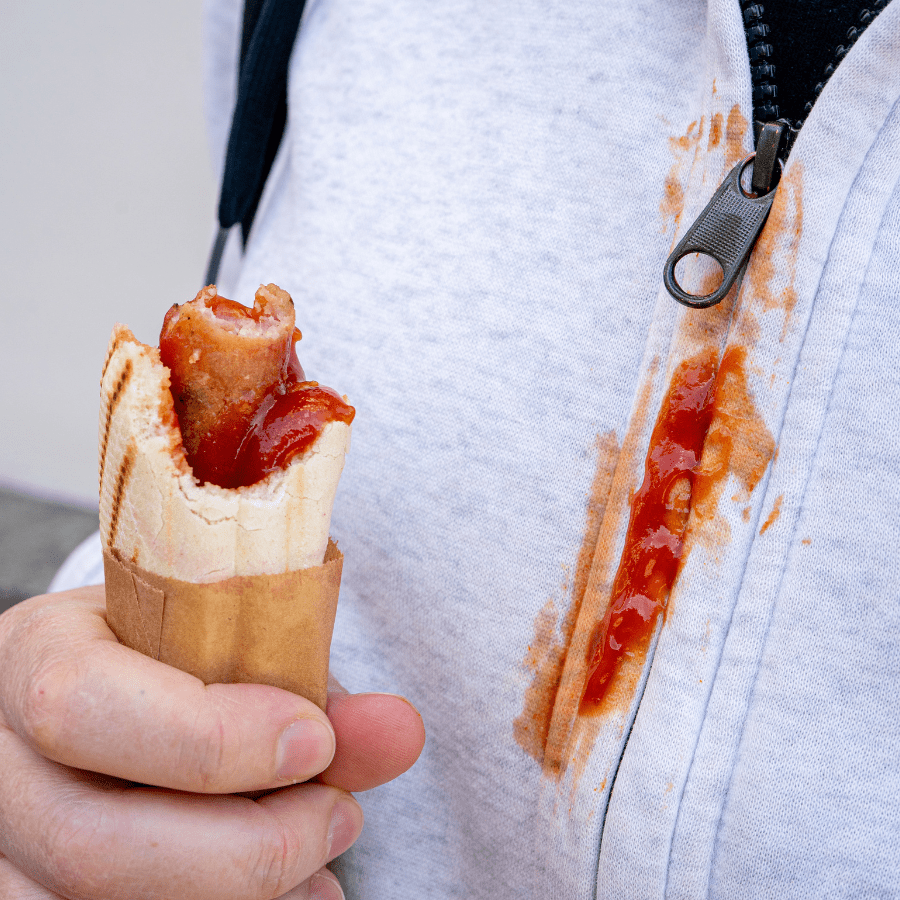
- Grease Stains: For grease you will want to act fast, blot the stain and gently rub dish soap into the affected area. rinse the sport with warm water, pre treat the stain and launder it as usual.
- Ink Stains: For ink stains, blotting with an isopropyl soaked cotton ball will help to remove the ink before it is able to spread. treat the stain and launder as usual.
By understanding the characteristics of these common stains and the appropriate cleaning techniques, you’ll be better prepared to tackle them when they occur. With the right approach, you can successfully remove these stains and keep your clothes and surfaces looking clean and fresh.
Why Different Stains Require Different Approaches
Different stains require different approaches because they are caused by various substances and have different properties. For example, a grease stain is different from a blood stain or an ink stain. Understanding the nature of each stain is crucial for effective removal.
Grease stains are caused by oils and fats and can be challenging to remove because they can penetrate into the fibers of fabrics or surfaces. They require specific treatments to break down the grease and lift the stain.
Blood stains, on the other hand, contain proteins that can coagulate and bond to surfaces, making them difficult to remove. Treating blood stains promptly with cold water and mild detergent can help prevent them from setting.
By understanding the unique properties of different stains, you can choose the appropriate cleaning solutions and techniques to effectively remove them. With the right approach, you can achieve successful stain removal and maintain clean and stain-free surfaces.
Preparing to Battle Stains: What You Need
Before you start the stain removal process, it’s important to gather the necessary supplies and tools. Having the right cleaning products on hand can make the process easier and more effective. Here’s what you’ll need:
- Laundry detergent: A good-quality laundry detergent is essential for removing stains from clothing and fabrics.
- Stain remover: Invest in a stain remover that is suitable for different types of stains. Look for one that is effective and safe to use on various fabrics. It is helpful to have different removers to target the different types of stains mentioned above.
By having these essential supplies and tools ready, you’ll be better prepared to tackle stains as soon as they happen. With the right arsenal, stain removal can be a breeze.
Safe DIY Stain Removal Solutions
In addition to commercial stain removers, there are also safe and effective DIY solutions that can be used to remove stains. These household items can often be found in your pantry or cleaning cabinet. Here are a few DIY stain removal solutions:

- White vinegar: White vinegar is a versatile and natural cleaning agent that can be used to remove stains. It is especially effective for removing odors and breaking down tough stains.
- Baking soda: Baking soda is another powerful cleaning agent that can help remove stains. It can be used to absorb odors and lift stains from various surfaces.
- Lemon juice: Lemon juice contains natural bleaching properties and can be used to remove stains, particularly on white fabrics. It is also effective for removing odors and freshening up fabrics.
- rubbing alcohol: this isnt for every kind of stain but is great to have on hand for ink stains or sticky residue.
By using these DIY stain removal solutions, you can tackle stains using natural and safe ingredients. They are not only effective but also budget-friendly alternatives to commercial stain removers.
The Beginner’s Guide to Stain Removal
Step 1: Identifying the Stain Type
The first step in the stain removal process is to identify the type of stain you’re dealing with. As mentioned, different stains require different cleaning solutions and techniques.
Think back to what might have caused the stain. It is typically obvious what you are working with based on color and texture. Tracing your steps backwards can also help identify when the stain was created and with what material.
By correctly identifying the stain type, you’ll be able to choose the most appropriate cleaning solution and increase your chances of successfully removing the stain. Remember, different stains require different approaches, so it’s important to start with the right information.
Step 2: Choosing Your Cleaning Solution
Once you have identified the stain type, it’s time to choose the right cleaning solution. Here are some options:
- Laundry soap: For washable fabrics, a laundry soap specifically formulated for stain removal can be effective. Follow the instructions on the packaging for best results.
- Liquid detergent/ degreaser: Liquid detergents and degreasers can also be used for stain removal. Apply a small amount directly to the stain, gently rub it in, and let it sit for a few minutes before washing as usual.
- DIY solutions: If you prefer natural or homemade solutions, you can try using a mixture of white vinegar and water, or a paste made from baking soda and water. These DIY solutions can be effective for certain types of stains.
- Specialized stain removers: Store bought stain removal product can be a great choice for some types of stains especially set in older stains.
Step 3: Testing the Solution on a Small Area
Before applying the cleaning solution to the entire stain, it’s important to test it on a small, inconspicuous area to ensure that it doesn’t cause any damage or discoloration. Here’s how to perform a spot test:
- Choose a small, hidden area: Select a small, hidden area of the fabric or surface that will not be noticeable if any damage or discoloration occurs as this is always a possibility with new stains, surfaces, and cleaners.
- Apply the cleaning solution: Apply a small amount of the cleaning solution to the spot and let it sit for a few minutes.
- Check for any adverse reactions: After a few minutes, blot the area with a clean cloth and check for any changes in color, texture, or damage to the fabric or surface.
If there are no adverse reactions, you can proceed with applying the cleaning solution to the rest of the stain. If there are any negative reactions, choose a different cleaning solution or consult a professional for further advice. Remember, it’s better to be safe than sorry when it comes to stain removal.
Step 4: Applying the Solution and Blotting the Stain
Once you’ve performed a spot test and ensured that the cleaning solution is safe to use, it’s time to apply the solution to the stained area. Here’s how to do it:
- Apply the cleaning solution: Using the recommended applicator, apply the cleaning solution directly to the stained area. Gently blot the stain, being careful not to rub or scrub too vigorously.
- Let the solution sit: Allow the cleaning solution to sit on the stain for a few minutes. This will give it time to break down and lift the stain.
- Blot the stain: After the solution has had time to work, blot the stain with a clean cloth or paper towel. Blotting helps to absorb the solution and lift the stain from the fabric or surface.
Continue blotting until the stain is no longer visible or until you have achieved the desired level of stain removal. Be patient and avoid rubbing or scrubbing, as this can push the stain deeper into the fabric or surface.
Step 5: Rinsing and Drying the Affected Area
After applying the cleaning solution and blotting the stain, it’s important to rinse and dry the affected area properly. Here’s what you need to do:
- Rinse with cold water: Rinse the stained area with cold water to remove any remaining cleaning solution and residue. Cold water is usually recommended for rinsing, as hot water can set the stain.
- Check for residue: After rinsing, check for any residue or lingering stain. If necessary, repeat the previous steps or try a different cleaning solution.
- Dry the area: Once the stain is completely removed, dry the area thoroughly. You can use a clean cloth or paper towel to blot away excess moisture. Avoid heat sources such as hairdryers, as they can set the stain or damage the fabric.
Allow the area to air dry completely before using or storing the item. Proper rinsing and drying ensure that the stain is completely removed and prevent any potential damage or discoloration.
Special Considerations for Stubborn Stains
Red wine

Red wine stains can be particularly stubborn and challenging to remove. Here’s how to tackle red wine stains from fabric:
- Blot up the excess wine: Start by blotting up as much of the spilled wine as possible. Use a clean cloth or paper towel to absorb the wine, being careful not to rub or spread the stain.
- Apply white vinegar: Pour white vinegar directly onto the stain and let it sit for a few minutes. Vinegar helps to break down the pigments in the wine.
- Rinse and blot: Rinse the stained area with cold water and blot it with a clean cloth or paper towel. Continue rinsing and blotting until the stain is no longer visible.
- Use hydrogen peroxide: If the stain persists, dampen the area with hydrogen peroxide and let it sit for a few minutes. Rinse thoroughly and blot dry.
With a combination of vinegar and hydrogen peroxide, you can effectively remove red wine stains from fabric. Remember to act quickly and treat the stain as soon as possible for best results.
Grease
Grease stains can be particularly stubborn, especially when they occur on kitchen surfaces. Here’s how to tackle grease stains effectively:
- Blot up the excess grease: Use a paper towel or cloth to blot up as much of the excess grease as possible. Be careful not to spread the stain further.
- Apply dish soap: Apply a small amount of dish soap directly to the stain. Gently scrub the stain using a sponge or soft cloth, working the soap into the grease.
- Rinse with hot water: Rinse the area with hot water to help dissolve the grease. Be careful not to burn yourself with the hot water.
- Repeat if necessary: If the stain persists, repeat the previous steps or try using a more concentrated solution of dish soap and hot water. Stubborn grease stains may require multiple attempts to completely remove.
By following these steps and using dish soap and hot water, you can effectively tackle grease stains on kitchen surfaces. With a little elbow grease, you can eliminate these unsightly stains and keep your kitchen looking clean and fresh.
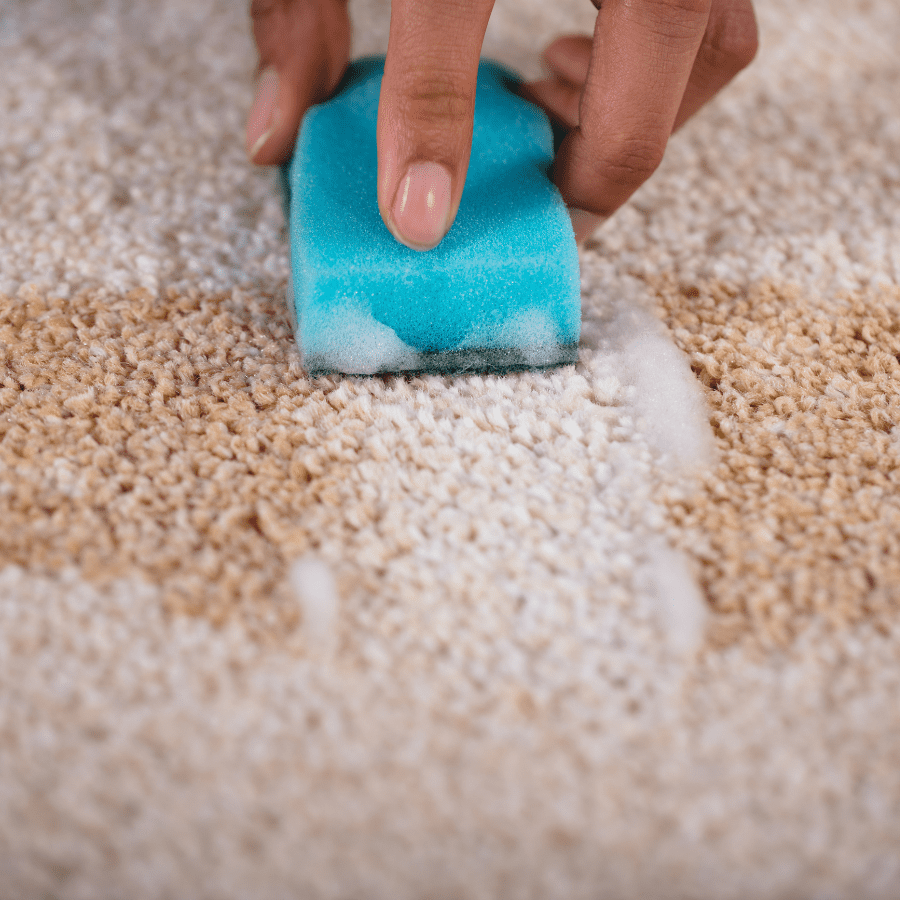
Effective Methods for Carpet and Upholstery
Carpets and upholstery are prone to stains, especially in high-traffic areas. Here are some effective methods for removing stains from carpets and upholstery:
- Blot the stain: Start by blotting up the excess liquid or substance with a clean cloth or paper towel. Avoid rubbing, as this can push the stain deeper into the fibers.
- Use an upholstery cleaner: For fabric upholstery, use a suitable upholstery cleaner according to the manufacturer’s instructions. Gently scrub the stain using a soft brush or sponge, and rinse with clean water.
- Vacuum the area: After the stain has been removed, vacuum the area to lift the fibers and remove any residue or particles.
By following these methods, you can effectively remove stains from carpets and upholstery, keeping them looking clean and fresh. Remember to act quickly and treat the stains as soon as they happen for best results.
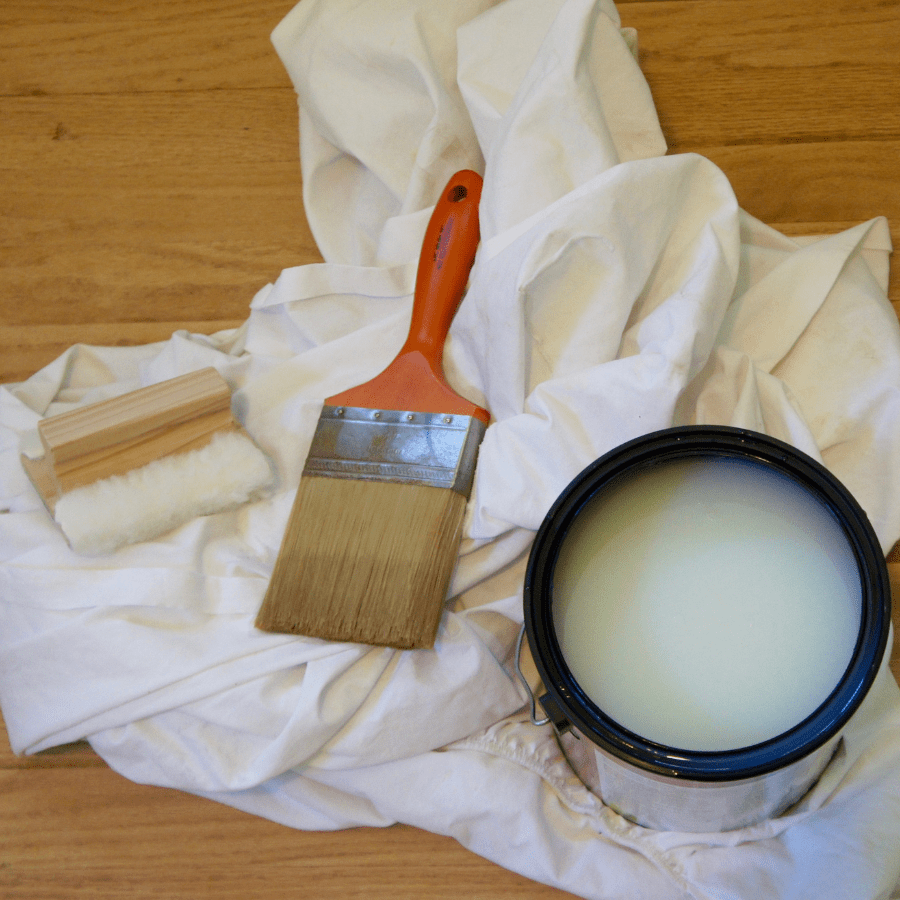
Preventing Stains: Protective Treatments and Coatings
Protective treatments and coatings can be applied to fabrics and surfaces to make them more resistant to stains. Here’s how they can help prevent stains:
- Fabric protector: Fabric protectors create a barrier on fabrics that repels liquid and prevents it from penetrating the fibers. This can help prevent stains from setting in and make cleaning up spills easier.
- Furniture coatings: Coatings such as polyurethane or wax can be applied to wood furniture to protect the surface from spills and stains. These coatings create a barrier that prevents liquid from seeping into the wood.
By applying protective treatments and coatings, you can make your fabrics and surfaces more resistant to stains and maintain their appearance for longer. Remember to follow the manufacturer’s instructions for application and reapplication.
Regular Maintenance and Quick Response
Regular maintenance and quick response are essential for preventing stains from setting in and becoming more difficult to remove. Here’s how you can incorporate these practices:
- Quick response: Act quickly when spills or accidents happen. Blot up any excess liquid or substance immediately to prevent it from seeping into fabrics or surfaces.
- Immediate action: Take immediate action to clean up spills and stains. The longer a stain sits, the harder it becomes to remove.
- Regular maintenance: Maintain a regular cleaning routine to keep fabrics and surfaces clean and stain-free. Regular maintenance can prevent the buildup of dirt and grime that can lead to stains this is especially true for carpets and high traffic stains.
By incorporating these practices into your cleaning routine, you can prevent stains and keep your home looking clean and fresh. Remember, prevention and regular maintenance are key to maintaining a stain-free environment.
Conclusion
In conclusion, mastering the art of stain removal doesn’t have to be daunting. With the right tools and techniques, you can tackle various types of stains effectively. Remember to identify the stain type, choose the appropriate cleaning solution, and follow the necessary steps for a spotless finish. Whether it’s red wine on fabric or grease on kitchen surfaces, this beginner’s handbook equips you with the knowledge to combat stains with confidence. Stay proactive in preventing stains through protective treatments and regular maintenance. For more help in preventing stains and maintaining a clean home, reach out to our experts here at Better Life Maids today. Happy cleaning!
Frequently Asked Questions
Can I Use the Same Method for All Types of Stains?
No, different stains require different cleaning solutions and techniques. It’s important to identify the type of stain and choose the appropriate method for effective stain removal. A gentle approach or specific treatment may be necessary for tough stains.
How much should a stain remover cost?
The cost of stain removers can vary depending on the brand and type of product. There are budget-friendly options available that provide effective stain removal. Look for products that offer value for money and meet your specific stain removal needs.
How can you prevent stains from setting in on fabrics?
To prevent stains from setting in on fabrics, take quick action when spills or accidents happen. Blot up any excess liquid immediately and rinse with cold water. Avoid rubbing, as this can push the stain deeper into the fabric.
Is it better to treat stains immediately or let them sit before attempting to clean them?
It is better to treat stains immediately rather than letting them sit. The longer a stain sits, the more difficult it becomes to remove. Immediate treatment increases the chances of successful stain removal and prevents the stain from setting in.